Gameplay Basics
Overview
This page provides information for Shiren 5's various gameplay systems and mechanics.
Shiren
Experience Points
The amount of experience points needed to level up.
→ Experience Points Table
Necklace Abilities
Special attacks that can only be used at night.
→ Abilities
Fullness
Shiren has a fullness gauge (FG), and takes 1 damage per turn once it reaches 0.
Fullness decreases by 1 every 10 turns, so periodically eat food to replenish fullness.
Status Conditions
States that affect a character's behavior in various ways.
→ Status Conditions
Super Status
Shiren's status will change as you defeat enemies during an adventure.
※ The trigger condition for activating Super status appears to be random.
- Regular → Awakened-ish → Super

Super Status
- Direct attacks can randomly inflict Asleep, Confused, Blind, Paralyzed,
Sealed, Berserk, or Shadow Bound status. - An additional bonus occurs every time you defeat 10 enemies:
- Boost attack (3 floors)
- Boost defense (3 floors)
- Gain Swift status (50 turns / 100 turns from Shiren's perspective)
- Gain Tinkerer status (2 floors)
- Gain Fast Striking status (50 turns)
- Gain Precise status (50 turns)
- Of these effects, attack and defense boosts stack up to 8 stages.
Deactivation
Super status can deactivate due to the following:
- Become afflicted by an ailment.
- Step on a trap.
- Hunger message is displayed. (20 and 10 remaining fullness)
- 0 fullness.
- HP display is red. (Current HP is < 30% of max)
※ The "0 fullness" and "HP display is red" conditions perform a check every turn.
HP Regeneration
Shiren's HP regenerates as he walks or steps in place (A+B).
(HP won't regenerate when any other action is performed)
HP regeneration speed is linked to max HP, and slows down as your max HP increases.
Turns that restore 0 HP are introduced from 102 HP, and increase in frequency
until you finally only restore 1 HP every 2 turns.
| Max HP | HP Restored | Interval | Per Turn |
|---|---|---|---|
| 15 ~ 50 | 1,2 | 2T | 1.50 |
| 51 ~ 66 | 1,1,1,2 | 4T | 1.25 |
| 96 ~ 101 | 1 | 1T | 1.00 |
| 102 | 1,1,1... 0 | 50T | 0.98 |
| 104 | 1,1,1... 0 | 23T | 0.96 |
| 124 | 1,1,1,0 | 4T | 0.75 |
| 200 ~ | 1,0 | 2T | 0.50 |
Source: シレン4、シレン5 自然回復量 【データ】 - 24番目の風来日記
Damage Calculation
Direct Attack Damage
| Damage Formula |
|---|
| [ Attack x Variance / 100 - Defense ] x Type Multiplier |
The formula aside, some important notes:
- Necklace ability damage calc is a different formula, and strength doesn't affect ability damage.
- Attack involves logarithm, so +1 at high level / strength has a smaller effect than +1 at low level / strength.
- If strength is ≥ 8, strength is halved and decimals are dropped, so odd number values don't raise damage.
- Example: 10 strength is the same as 11 strength.
- Equipment AP and DP are multiplied by ~0.6, so small increases in upgrade value aren't too noticeable.
In-Depth
| Variance |
|---|
| A number between 87 ~ 112 |
| Rune Lv | 0 | 1 | 2 | 3 | 4 | 5 | 6 | 7 | 8 |
|---|---|---|---|---|---|---|---|---|---|
| Type Multiplier | 1.00 | 1.35 | 1.60 | 1.85 | 2.10 | 2.35 | 2.60 | 2.85 | 3.10 |
- Multiple types = [Repeat: Multiplier x Multiplier / 100] / 100
- Example (1.30, 3.10): [130 x 310 / 100] / 100 = 4.03
- Example (1.30, 1.30, 3.10): [130 x 130 / 100] x 310 / 100] / 100 = 5.23
Shiren
| Stat | Formula |
|---|---|
| Attack | LevelAtk + StrengthAtk + WeaponAtk |
| Defense | DP x 0.61785 |
- LevelAtk = LOG(Level x 0.4 + 1) x 24 - 3
- StrengthAtk
- Strength < 8 = LOG(2.7) x LOG(2.7) x Strength / 8 x 25
- Strength ≥ 8 = LOG([Strength / 2] - 1.25) x LOG([Strength / 2] - 1.25) x 25
- WeaponAtk = AP x 0.585
Ally, Monster
| Stat | Formula |
|---|---|
| Attack | Character's attack stat |
| Attack (night/limit break) | Level x Character's attack stat |
| Defense | Character's defense stat / 2 |
Ability Damage
| Damage Formula |
|---|
| AbilityAtk + Level x 0.38 - Defense |
| Stat | Formula |
|---|---|
| Level | Shiren's level |
| AbilityAtk | Ability's attack power |
| Defense | Character's defense stat |
Source: ダメージ計算 - 組長式(アーカイブ)
Accuracy
Direct Attacks
92% without a weapon.
Accuracy increases while equipped with a leveled up weapon.
The Redeeming rune raises accuracy to 100% for 1 hit after 2 misses.
| Weapon Level | Lv1~3 | Lv4~5 | Lv6~7 | Lv8 |
|---|---|---|---|---|
| Accuracy | 92% | 93% | 94% | 95% |
Projectiles
84%
Monster Direct Attacks
88% under normal circumstances.
Accuracy decreases if a Spry Shield is equipped. (Shiren's evasion increases)
The Agile rune is equivalent to Spry Shield Lv1, so it's 78%.
| Spry Shield | Lv1 | Lv2 | Lv3 | Lv4 | Lv5 | Lv6 | Lv7 | Lv8 |
|---|---|---|---|---|---|---|---|---|
| Accuracy | 78% | 75% | 72% | 69% | 66% | 63% | 60% | 57% |
Source: 攻撃の命中率 - 組長式(アーカイブ)
Item
Point Card
Step on Point Switches while carrying a Point Card to accumulate points,
which can then be exchanged at the Point Shop for various items.
→ Point Shop Items
Point Switch:
How to Obtain the Point Card:
- Go to the basement of Hotel Nekomaneki and go through the Lot Shop event.
- Go to the Point Shop (building next to Dungeon Center) and talk to the Pointman.
Notes:
- Points earned per Point Switch varies by dungeon and depth.
- If you lose the Point Card, you can have it reissued for 1000 Gitan.
- The points you accumulated won't be lost.
- The Point Card's status affects points earned from Point Switches.
- Sealed or inside a pot = 0 points.
- Blessed = Double points, but blessing wears off after 1 use.
- Points reset to 0 if you end the game without suspending properly.
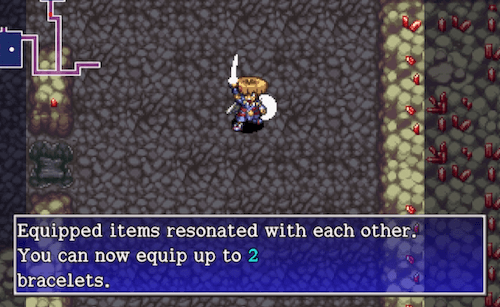
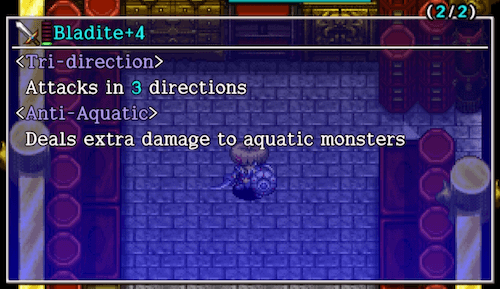
Resonance
Certain weapons, shields, and bracelets activate special effects when equipped at the same time.
→ Resonance
Equipment Tags
Tags can be placed on weapons or shields, and ensures the item goes to Hermit's Hermitage if lost.
Up to 8 tags can be placed on items, and the tag comes off when you pick the item up.
The Sentry is located to the left of the Blacksmith.
Placing a tag:
- Purchase from Sentry (Hermit's Hermitage) or Shopkeepers for 3000 Gitan.
- Purchase from Tag Master for 2000 Gitan.
- Read a Tag Scroll and select a weapon or shield.
Tag removal:
- Request a tag removal. (Sentry or village shop)
- Tagged item was delivered to the Sentry.
- Sold the item inside a dungeon store.
- Don't sell your tagged main weapon and shield when stealing!
- Chance to be removed when upgrade value decreases.
- Safe if you keep your equipment plated.
Item is lost even with Tag:
- Item turned into Onigiri or Weeds.
- Item inserted into a Presto or Sale pot.
- Quit the game without suspending properly / game froze.
- If you were carrying the item when this occurred.
Equipment Growth
Weapons and shields earn growth experience points when you defeat enemies using direct attacks.
For the sake of keeping the term short, this site refers to it as skill points.
※ You don't earn skill points if you defeat enemies using projectiles, abilities, magic bullets, etc.
Notes:
- The item's name changes, and strength, upgrade limit, and rune count increase.
- Example: Katana 6 atk / 8 limit → Good Katana 7 atk / 15 limit.
- Weapons or shields can gain runes through leveling up, and have a maximum level of 8.
- Example: Beast Fang gains Rustproof at Lv5.
- Skill points can't be seen, and each monster grants a predetermined amount.
- Example: Mamel = 1 point.
- Generally, stronger / higher level monsters offer more skill points.
- Example: Pit Mamel = 2 points, Cave Mamel = 100 points.
- Equipment levels up once the skill points total reaches the item's assigned threshold.
- Example: Katana → Good Katana once skill point total reaches 300 points.
Check the Monsters page for monster skill point values.
Blessing / Curse / Seal
Items can be blessed, cursed, or sealed. (Excluding arrows, rocks, and talismans)
They can occasionally be found on the ground with these statuses, and you won't
be able to determine an unidentified items's status until you use it.
Once an item is identified, these statuses will be shown as an icon:
| Icon | Type | Basic Effect |
|---|---|---|

|
Blessing | Boosted effect. |

|
Curse | Can't unequip. |

|
Seal | Unable to be used. |
The effects of these statuses differ based on item category. (See table below)
- Gaining a status
- Blessing: Blessing Scroll, Blessing Pot, night monster drop.
- Curse: Curse Trap, Curse Girl special attack, Imabikiso, Curse Scroll, Curse Pot.
- Seal: Curse Trap, item stolen by Bad Zalokleft (Lv1~3), Imabikiso, Curse Scroll, Curse Pot.
- Removing a status
- Curse / Seal: Exorcism Scroll, Exorcism Pot, Fate Scroll, Earth Scroll, Plating Scroll,
bless the item, Curse Breaker (Nekomaneki Village or wandering NPC). - Anti-Crs. Bracelet protects an item from getting cursed or sealed.
- Curse / Seal: Exorcism Scroll, Exorcism Pot, Fate Scroll, Earth Scroll, Plating Scroll,
Effect details by item category:
| Item | Blessed | Cursed | Sealed |
|---|---|---|---|
| Weapon | Increased attack (Chance to wear off) | Can't unequip | Upgrade value and runes are nullified, doesn't gain skill points |
| Shield | Increased defense (Chance to wear off) | Can't unequip | Upgrade value and runes are nullified, doesn't gain skill points |
| Bracelet | Can't be cursed or sealed (Chance to wear off) | Can't unequip | Bracelet's effect is nullified |
| Arrow, Rock | - | - | - |
| Staff | Doubled effect (Chance to wear off) | - | Unable to be used, no effect if thrown |
| Talisman | - | - | - |
| Scroll | Reusable (Some exceptions *1) | - | Unable to be used |
| Grass | Doubled effect (Some exceptions *1) | - | Unable to be used, no effect if thrown |
| Pot | Can't be cursed, sealed, pecked, turned into onigiri (Chance to wear off) | - | Can't use [Insert] or [Open] commands, can't be filled by Bored Kappa or Scoopie |
| Food | Doubled effect, peaches gain a bonus | - | Unable to be used |
| Torch | Doubled duration | - | Can't be equipped |
| Point Card | Gain double points (Wears off after 1 use) | - | Unable to be used |
*1 Exceptions:
- Scroll
- Extraction Scroll - Blesses all extracted items, but can't be reused.
- Grass
- Upgrade Seed - Effect is active for the duration of the current floor. (Normally 100 turns)
- Revival Grass, Undo Grass, Repeat Grass - Reusable.
Synthesis
Synthesize weapons and shields to merge special abilities, upgrade value, and runes,
and combine staves to add their use counts together.
Synthesis Basics
The first item you insert into a Synthesis Pot or throw at a Mixer acts as the base.
Synthesis Pots can only combine weapons with weapons, shields with shields, or staves with staves.
Mixers can combine the full range of items used in rune recipes, including different category items.
Weapons, Shields:
- First item is the base. Runes and upgrade value of subsequent items are added to it.
- Example: Katana first, Scythe+1 second → Katana+1 with Anti-Plant rune.
- Each item has a "rune count", and no more runes can be added once you reach the limit.
- Example: Katana has 4 rune slots at Lv1.
- Each item has an upgrade limit that increases as the weapon levels up through usage.
- The upgrade limit for weapons and shields maxes out at +99 once the item reaches Lv8.
- Innate runes get stronger as the item levels up, but runes are always equal to Lv1 effect.
- Example: Lv4 Scythe = 210%, Lv4 Katana with Anti-Plant rune = 135%.
→ Rune Multipliers
- Example: Lv4 Scythe = 210%, Lv4 Katana with Anti-Plant rune = 135%.
Staves:
- Adds use counts together. Can only combine same name staves.
- Example: Knockback Staff [3] first, Knockback Staff [4] second → Knockback Staff [7].
Cross-Mixing (Different Item Category Synthesis):
- When synthesizing using Mixers, certain different category items can be combined to add runes.
- To be clear, this is NOT possible when synthesizing using a Synthesis Pot.
- Example: Weapon + Dragon Grass = Anti-Dragon rune
- Check Rune List under the "Synthesis (Mixer)" column for all possible combinations.
Synthesis Methods
Synthesis Pot:
- Insert same category items to synthesize them. (Only Weapons, Shields, or Staves)
- Insert an identified staff last to result in an identified staff.
Mixer:
- Throw items at a Mixer to synthesize them. (Different category items can be synthesized)
- Mixers won't eat items when they're afflicted with certain status conditions.
- Will eat: Any status conditions besides the ones listed below.
- Won't eat: Napping, Asleep, Sound Asleep, Sealed, Paralyzed, S-Paralyzed, Onigiri, Tottering.
- Mixers can only eat a set number of items, based on their level.
- Mixer = 2, Mixermon = 3, Mixergon = 4, Mixerdon = 5
- Throw a Stomach Expander to increase the number of items a Mixer can eat by 1. (Max: 8)
- Example: Throw a Stomach Expander at a Mixer, then synthesize 3 items instead of 2.
- Mixers turn toward the direction the item came from when they eat an item.
Blessed, Cursed, Sealed, Identified
Synthesized items generally take on the status of the item that was inserted or thrown last.
(Example: Remove a seal or curse from a weapon by synthesizing the weapon with an Iron Arrow)
※ Mixer synthesis has varied priority based on item category, so you may get unexpected results.
Mixer Synthesis Priority
Priority after throwing a weapon:
- Weapon > grass > scroll > staff > talisman or arrow > pot > bracelet.
(This remains true even if items were thrown in a different order)
Example: If you throw a weapon → staff (sealed) → grass, the resulting weapon will be sealed,
because grass has a higher priority than staves.
It's fine to throw non-equipment category items before the weapon or shield.
Common Mistakes
- Threw a Synthesis Pot while a Can. Arm Bracelet was equipped / Dracon Grass was active.
- Check equipped bracelets and current status beforehand.
- Main weapon vanished after being thrown at a Napping Mixer.
- Mixers function differently in Shiren 4 and 5, so always wake them up first.
- Stepped on an Explosion Trap / Pit Trap while walking over to the synthesized item.
- Perform direct attacks over tiles to check for traps while approaching the item.
- Threw a weapon → Angel Seed → shield → Angel Seed, but only the weapon gained a rune.
- Items that can be used to add runes to both weapons and shields always get synthesized
onto the first weapon or shield, so use 2 different Mixers.
- Items that can be used to add runes to both weapons and shields always get synthesized
- A Pop Tank monster destroyed the item after synthesizing.
- Use the Scout command to check for Pop Tank monsters on floors where they appear.
- The resulting staff became sealed after combining same name staves.
- Swing the staff you to intend to synthesize last to check if it's sealed.
New Items
Secret Pots located in the basement of Hotel Nekomaneki can be used to add new abilities to items.
→ New Items
Catstones
Collect all 7 colors and clear Inori Cave to have a wish granted.
→ Wishes List
There are a number of different methods to obtain Catstones.
The list below is in the order of how easy it is to obtain all 7 colors.
- Tanuki Passwords
- Talk to Pokopon inside Hotel Nekomaneki and input Tanuki Passwords to obtain 1 set.
※ Passwords can only be used once per save file.
- Talk to Pokopon inside Hotel Nekomaneki and input Tanuki Passwords to obtain 1 set.
- Rescue Passwords
- Use Lost Well Pick-A-Choice Rescue Passwords.
(See Collecting Catstones for details)
- Use Lost Well Pick-A-Choice Rescue Passwords.
- Pick-A-Choice Shop
- Same as above, but search for a Pick-A-Choice shop on your own.
- Purchase From Poo
- Talk to Ah in Hotel Manekineko to hear Poo's current location,
and then go there and purchase a Catstone for 3000G. (Random color)
Poo's location is randomly selected from the list of dungeons you've entered before,
and will change location after 7 or so adventures.
- Talk to Ah in Hotel Manekineko to hear Poo's current location,
- Clear Destiny's Descent
- The clear reward for this dungeon is a full set of Catstones.
However, you need Catstones to even unlock this dungeon, and it's quite difficult,
so it's not a very practical option.
- The clear reward for this dungeon is a full set of Catstones.
- Elite Stores
- You'll occasionally find Catstones for sale in elite stores.
Friendship Licenses
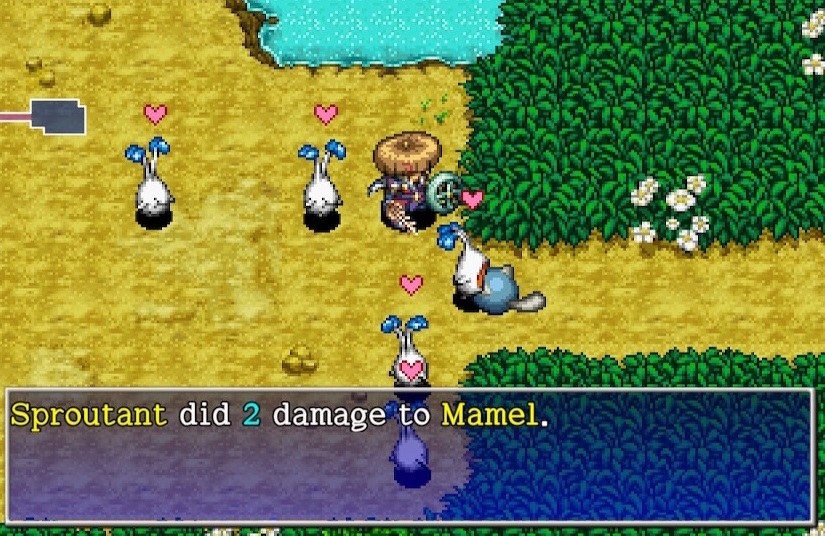
Friendship Licenses are items that cause a monster family to act as allies and attack enemy monsters.
How to Obtain:
- Purchase at the License Shop in Nekomaneki Village.
- Read a Nixer Scroll while adjacent to an enemy monster.
- Defeat an enemy monster that is afflicted with Dueling status.
Notes:
- Ally monsters won't be attacked by enemies, and won't level up when they defeat other monsters.
- Shiren won't gain any experience points from ally monsters defeating enemies.
- If Shiren deals damage to an ally monster, all licenses for that family get destroyed.
- Includes licenses inside pots.
- Licenses don't take effect if they're on the ground or inside pots.
- Licenses can turn into Blank Scrolls when leaving a floor where the family is in the monster table.
- The check is also performed on licenses in pots, and seems to be around 10~20%.
- Example: In Gen's Turf, Mamel appears between 1-5F, and Pit Mamel between 3-7F.
Therefore, 7 chances for Mamel Lic. to turn into a Blank Scroll.
(1→2F, 2→3F, 3→4F, 4→5F, 5→6F, 6→7F, 7→8F)
Example:
If you have a Sproutant Lic. in your inventory (not inside a pot), all Sproutants, Sproutyrants,
Sprouterrors, and Sproutitans on the current floor will attack enemies instead of you.
Dungeon
Allies
Allies are mostly optional NPCs who fight alongside Shiren.
(Jirokichi is a mandatory ally during the main story)
→ Allies
NPCs
Characters who wander around inside dungeons and help Shiren out in various ways.
→ Wandering NPCs
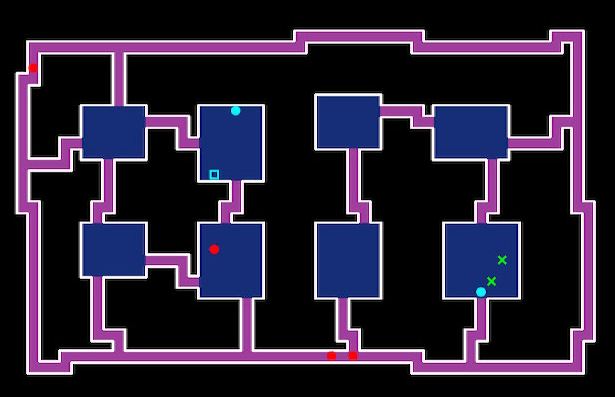
Dungeon Features
Details for things like shops, hidden hallways, shiny objects, item islands, lava, etc.
→ Dungeon Features
Map Patterns
List of map patterns used in the game.
→ Map Patterns
Monster House
Information about Monster Houses.
→ Monster House
Traps
List of traps and their effects.
→ Traps
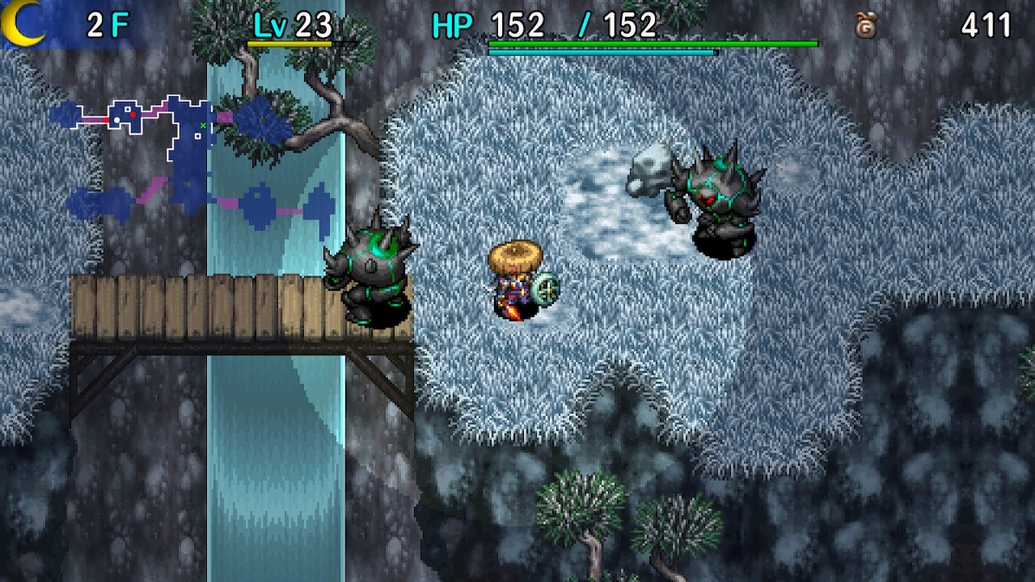
Day / Night
Some dungeons have day and night cycles that change based on the number of elapsed turns.
The Night Training Facility in Inori Village or NPC at the exit of Hermit's Hermitage offers a tutorial.
The monster table is different between day and night,
and all monsters on the floor vanish and new ones are generated when time of day changes.
When it changes from:
- Day to Night → day monsters vanish, and night monsters are generated.
- Night to Day → night monsters vanish, and day monsters are generated.
Night:
- Direct attacks only deal 1 damage to night monsters, so use Necklace Abilities to defeat them.
- Up to 8 abilities can be assigned. (Talk to the NPC in Hotel Nekomaneki to edit)
- Once an ability is used, it can't be used again until you change floors or eat a peach.
- Special effects from items like staves and scrolls are effective.
- Fixed damage attacks like Dragon Grass also only deal 1 damage.
- However, Empathy status and the Dispersing rune are effective.
- Field of view is reduced to a 1 tile radius.
- Equip a torch to expand your field of view. (Higher grade torches provide a larger radius)
- Night monsters deal far greater damage to you without a torch equipped.
- Scrolls other than Fixer Scroll cannot be read at night without light.
- The Scout command cannot be used unless you've read a Navigation or Fixer scroll.
- Items dropped by night monsters are always blessed, and are chosen from the shop table.
- In other words, generally higher quality than items you find on the ground.
Day:
- Direct attacks deal damage like normal to day monsters, and abilities cannot be used.
Monsters
Details for enemies that appear inside dungeons.
→ Monsters
Monster Auras
Status condition that monsters can have when they spawn naturally.
Monsters made to appear (Summon Trap, Mnster House Scrl, etc.) never have auras,
and some dungeons and specific floors have monster auras disabled.
Monster auras can be removed by reading a Dispel Aura Scroll, swinging a Seal Staff,
or hitting the target with any talisman. However, monsters with auras provide double
experience points, so it's important to take advantage of that when possible.
Aura effects vary by color:
| Color | Effect |
|---|---|
| Red | Deal x2.5 damage. (3 stages of Buffed status) |
| Blue | Reduce damage received by 40%. (3 stages of Bolstered status) |
| Yellow | Increase action speed by 2 stages. |
Monster Spawns
It varies by dungeon, but for the most part 1 monster is generated every 30 turns or so.
- Monsters won't spawn if you're in the same room.
- Monsters won't spawn inside a shop.
Up to 20 characters can be present on a floor, including Shiren, allies, and NPCs.
- N'mach will vanish when it tries to reveal itself if there are 20 characters present.
Facilities
See Villages for a complete list of available facilities.
Storehouse
Store up to 80 items, or 5 x 80 = 400 items if you fill it with Preservation Pot [5].
Use the Organize option to easily reorganize and sell items.
Select multiple items using the R button.
Tanuki Passwords
Input passwords to receive items.
→ Tanuki Passwords
Sparrow's Shuttle
Fast travel to places you've been to before.
→ Sparrow's Shuttle
Other
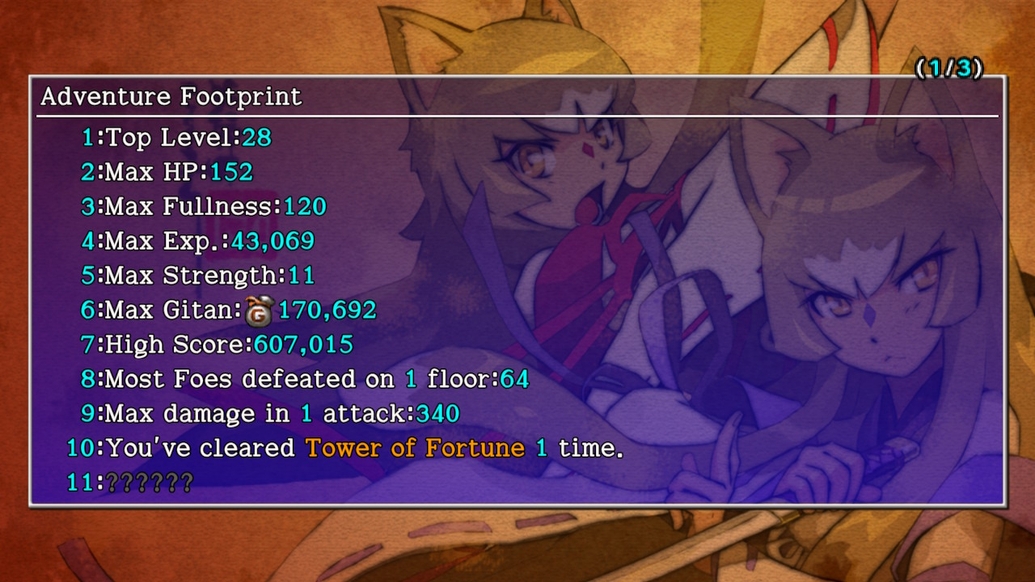
Adventure Footprints
Basically a form of in-game achievements.
→ Adventure Footprints
Expert Badges
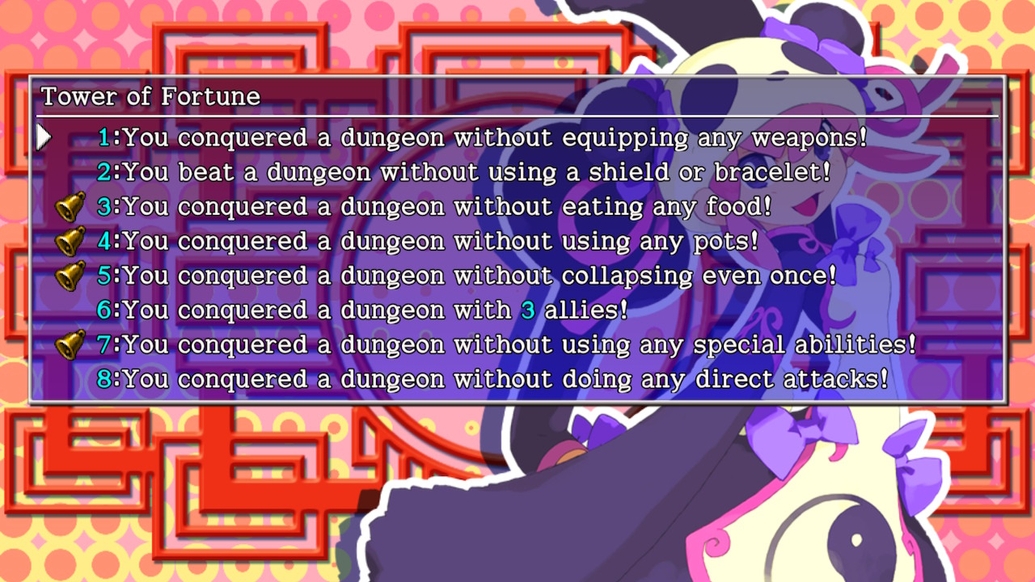
In-game achievements that challenge you to clear dungeons under special restrictions.
→ Expert Badges
Version Exclusives
Features that are exclusive to certain versions of the game.
Switch / Steam
Steam
→ Trading Cards
→ Steam Point Shop
Steam / Vita
→ Trophies
